creating a background with narrow depth-of-field & great bokeh
I met up with my favorite model Anelisa yesterday in New York, specifically to shoot images for a more extensive review of the Nikon 85mm f1.4G AF-S lens. And then it struck me how pointless it is in a way. This is truly a superb lens. It improves on the legendary Nikon 85mm f1.4 AF-D lens in some key areas. (For me the updated lens was an immediate upgrade.)But ultimately, you could get similarly beautiful images with any short portrait lens that gives you a very narrow depth-of-field AND has great bokeh. (Just to reinforce that again .. narrow DoF and bokeh are not the same thing. But I digress.) So, whether you’re shooting with a Nikon 85mm f1.4 lens (B&H), or the Canon 85mm f1.2 (B&H), or Canon 85mm f1.8 (B&H) … these images are easily attainable. It is more about the technique and thought-process and approach, than any specific piece of equipment. However, you do need photo equipment that enables you to achieve what you want to, technically and stylistically. (Which is the theme of my presentation this week at the Photo Plus Expo at Unique Photo’s stand. Come stop by if you’re there.)
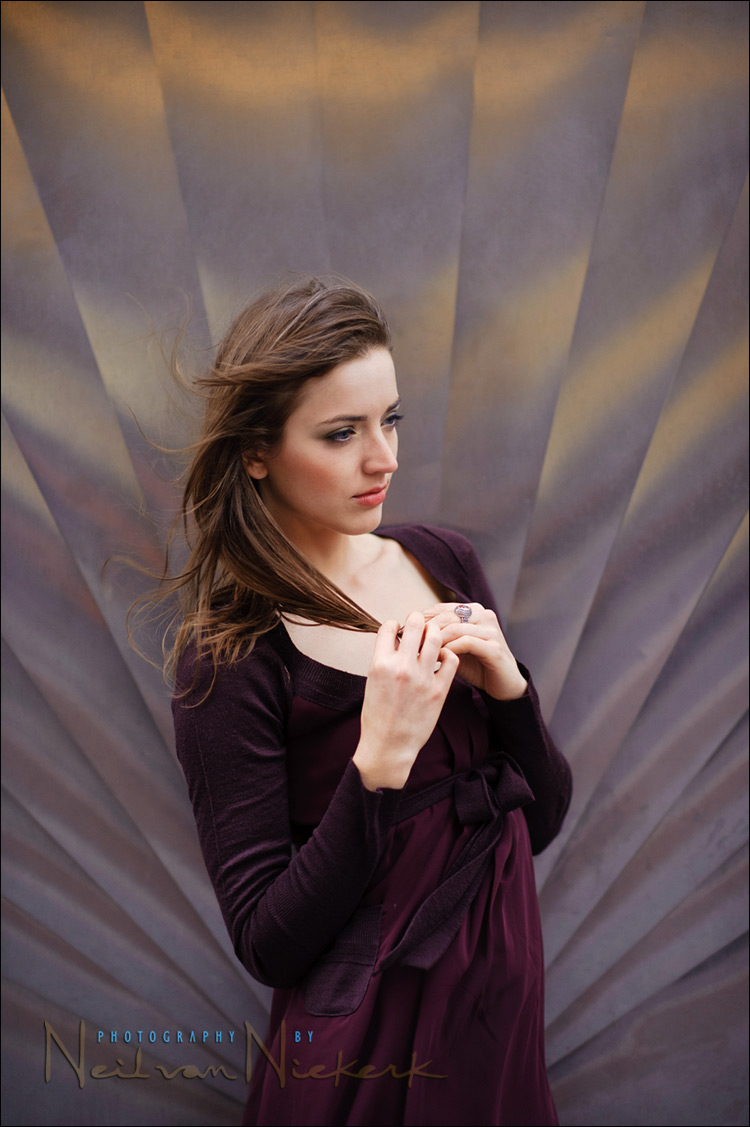
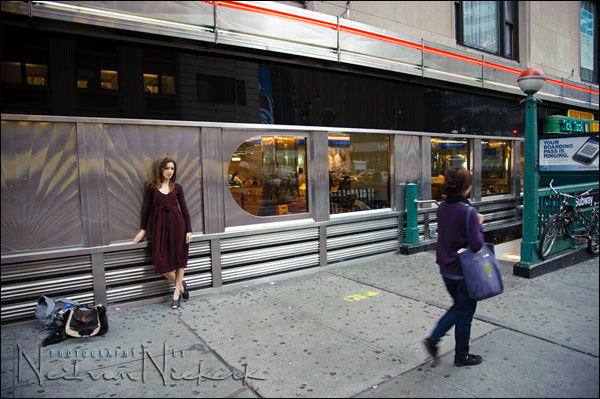
So walking around with Anelisa, looking for great backgrounds I saw this fantastic Art Deco styled exterior of a diner. And I knew that with the various colors and shadings in the late afternoon, it would give beautifully colored reflections at various angles. Here is the pull-back shot …

The approach is simple, and exactly what thousands of photographers have done before … find a great background to place someone in front of. It is a simple approach, and usually works very well. Choosing a shallow depth of field here wouldn’t really affect the final photograph since she is so close to the background. But what I wanted to show with the rest of this post, is how we can create a varied background when shooting with a shallow depth-of-field and a lens with great bokeh.
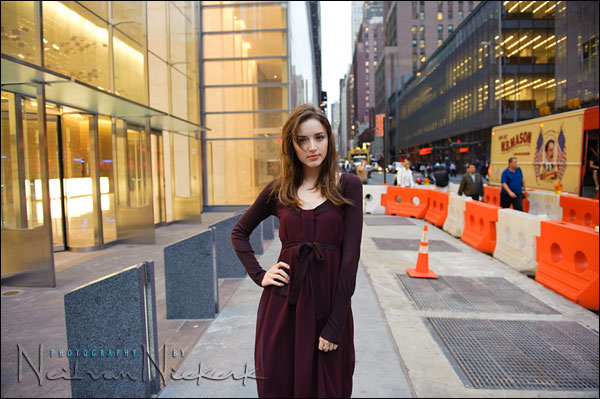
Now where these wide-aperture telephoto lenses excel, is in melting away any background that is a distance away from your subject. In fact it seems like you could place your subject pretty much anywhere (where you have great light), and allow the background to disappear into mush.
From this exact spot …

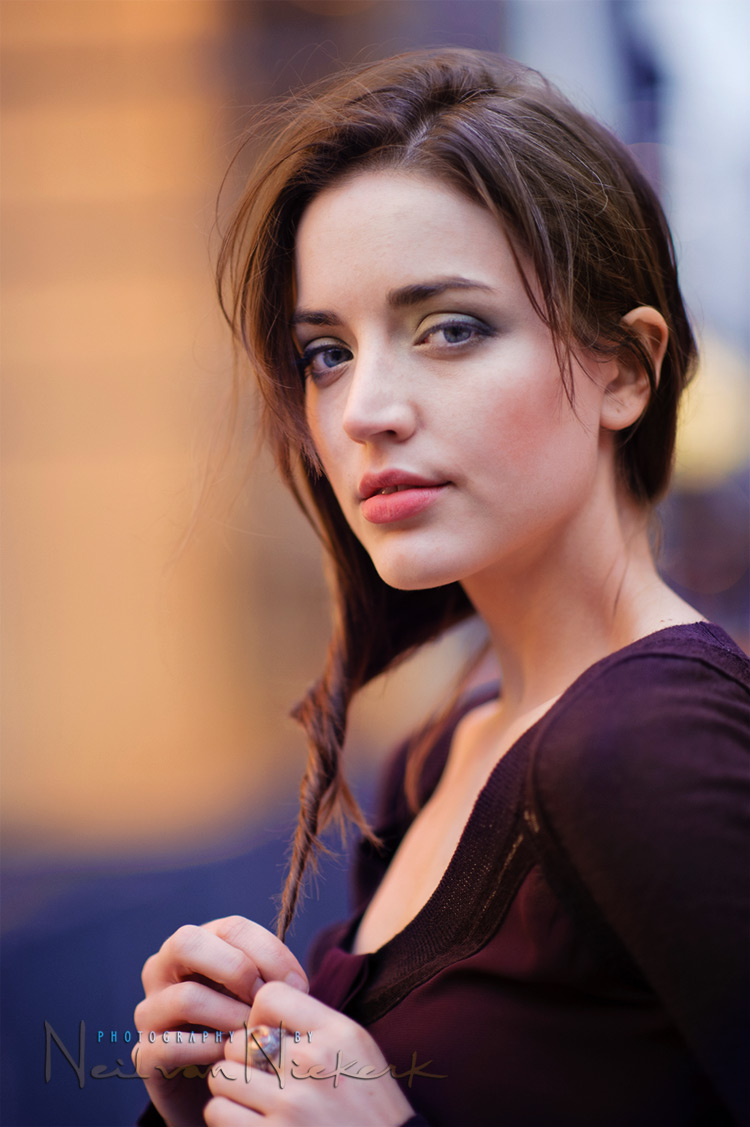
… we were able to pull out a series of gorgeous portraits. I really liked this one. It’s just the available light again.

The background, when in focus, is truly random and ugly. But, as a defocused background, it looks great … however, it isn’t random. It is still specific. I moved my position until I had her framed the way I wanted to, in relation to the out-of-focus colored areas. This is still very consistent with my approach in achieving effective on-location portraits. Similarly, the way I positioned Anelisa isn’t random either, but very specific in relation to the available light. In this way, I created the background with a combination of shallow depth of field, and a lens with great bokeh. A do-everything zoom is just not going to get you there if you want to achieve this kind of look.
From here on we went to Times Square. But Times Square is so colorful that it becomes really easy to pull these kinds of shots out with an 85mm prime lens used at a wide aperture. SO easy it seemed like cheating in comparison to the photo above.
The final point to this posting, is that there is a consistent technique here. A way of seeing and working … enabled by using equipment of a certain quality.
Camera settings:
image at the top: 1/160 @ f1.8 @ 800 ISO
image at bottom: 1/250 @ f1.4 @ 800 ISO
No comments:
Post a Comment