How to Photograph Water Drops
By shakira_d onThis is a guest post by Shakira Duarte who you can find on Flickr!
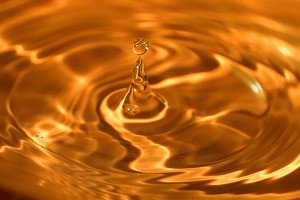
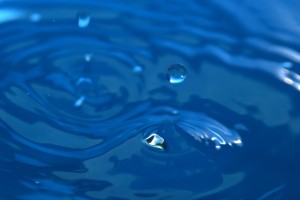
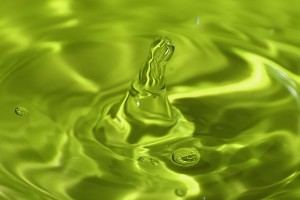
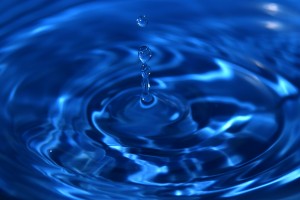
Photographing water drops is a hugely popular area of photography that we have covered before with the incredible photos of Steve Wall. Here, Shakira Duarte takes us through the steps needed to get your own stunning water drop photos.
MATERIALS
- Camera, this is pretty obvious, but what you need is a camera that has manual functions. You have to set shutter speed, so if you use the automatic mode you’re not sure of getting the results that you want.
- Tripod, or any firm surface.
- A dish, bucket or any recipient.
- Remote flash, it isn’t completely necessary, BUT highly recommended. You can also use the built in flash.
- Remote control, if you don´t use it you probably move the camera a little bit, although it is on the tripod.
- Plastic bag, to hold the water (or other liquid if you prefer) that will drop.
- A colored background, it could be a cardboard, paper or anything that reflects color.
- Lots of patience!!
PREPARING THE EQUIPMENT
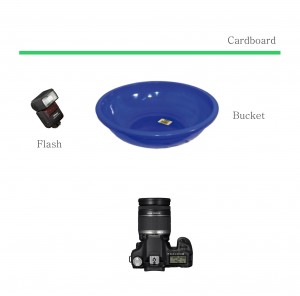
First of all, you need a table or a surface to put the bucket. And remember, the camera has to be in front of the bucket, at the same height or a little bit higher.
Place the cardboard or paper at the back of the bucket. If you create a uniform background, it’s easier to reflect the flash light.
Now the flash, it has to be at one side of where the drop will drop (either right or left are ok, or you can try both), and facing the background. This is what will make a nice reflection on the water, depending on the color of the background.
Now you need a place for the plastic bag over the bucket. You can put it in a sheld, stick it in the wall, or you can put it anywhere actually. What we are going to do is make a whole in the bag (not yet) so the drop fall always in the same place and we don´t need to worry about focus in every photo.
Make sure that the bag doesn’t fall while you are photographing, it could splash a lot of water and your camera can get wet.
Well, now you can place your camera on the tripod, and conect the remote control.
CAMERA SETTINGS
First, set the camera to manual focus. Then put a pencil or any object in the place that the drops are falling, so you make sure you have a point of focus.
The main setting is the shutter speed, it has to be fast enought to freeze movement. You can use something like 1/160 or faster.
The aperture depends on the shutter speed, so you have to try with diferent values. And depending on the apertue, the depth of field will change.
TAKING THE PHOTOS
Now make a little whole in the plastic bag so the drops fall. And if you want the flow to be faster, what you have to do is make the whole bigger. Remember to fill the bag with water first!
You have to shoot at the same moment that the drop falls, you can check on the camera screen that your shots are good. After many photos you will have a few good results.
You can try with different liquids like milk or coffee. And with different colors to get really cool results!!
 |
Article by Shakira Duarte
No comments:
Post a Comment